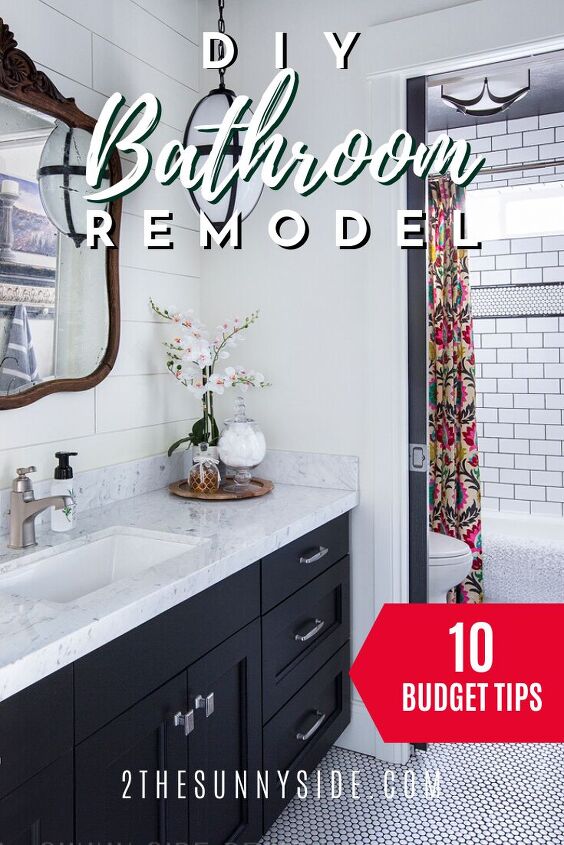
DIY Bathroom Remodel on a Budget
Are you dreaming of an updated bathroom, but you don’t have a lot of money to pour into a major renovation? We totally understand! When we purchased our home I knew that this bathroom needed a major overhaul! Definitely nothing in this space represented me. However, the budget was tight, after a major kitchen renovation as well as new paint and flooring throughout our home, we didn’t have a lot of money we could put into it. Take a look! Not only did we succeed in a DIY bathroom remodel on a budget, but we were also able to add some much needed style and value to our home.
Real quick, are you new here?! WELCOME! We love new friends. Be sure to say “hi” in our comment section and sign up for our weekly newsletter for even more great inexpensive ideas!
Let me tell you a little about me … I have always had a passion and an eye for design. From a young age I was constantly rearranging the furniture in the home I grew up in. I’m sure I drove my parents crazy. Yet my mom encouraged my creativity.
When I was in 4th grade, about 10 years old, my mom let me decorate my bedroom myself. Choosing the wallpaper, carpet, bedding, furniture and window coverings.
As I look back on that, I see I really did have an eye for design. It was a very chic room with black and white wallpaper, white shutters, black faux fur bedding with a wicker headboard.
It had a real boho feel, after all it was the 70’s.

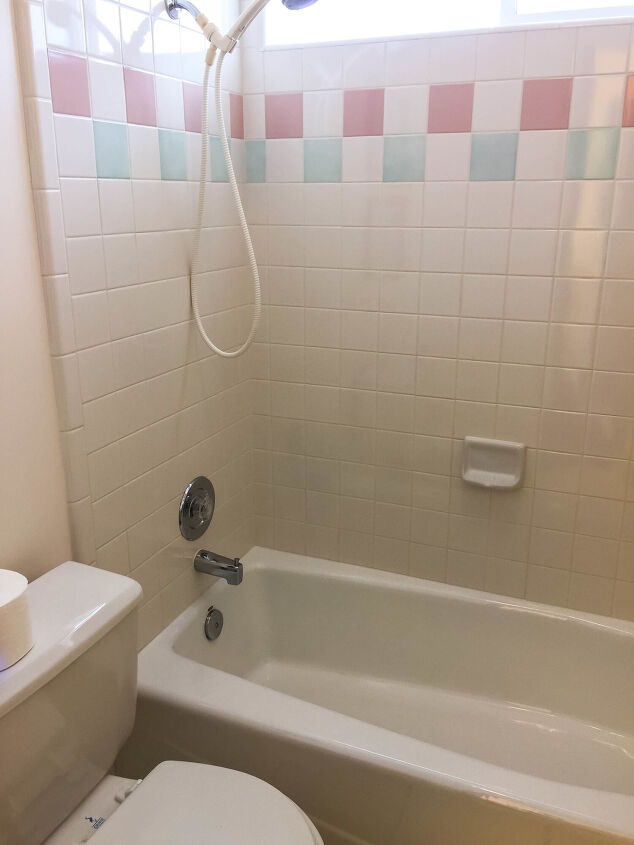
As you can see this bathroom screamed the 90’s! From the maple cabinetry with the shiny brass hardware to the mauve and aqua tile, it all had to go! Definitely not my cup of tea!
The large white floor tiles with green grout and the huge brass vanity light all had to go. Also notice that the wall color had a light pink hue and that was throughout the entire house.
Today we are sharing 10 Tips to help you succeed with a bathroom remodel and stay on a budget.
This post contains affiliate links for your convenience. As an Amazon Associate I earn from qualifying purchases. See our disclosure for details.
Planning and preparing a budget will help with the decision of where to splurge and where to cut back.
I could easily have spent $10,000 on this bathroom remodel. I have very expensive tastes. 😉 For example, I love the look of real stone, marble to be exact. So, I know that was one element I wanted in this space.
Obviously to tile the floor and shower surround, as well as have a marble counter would be very expensive. However, with a little searching I found a remnant of Carrara marble. With installation and a rectangular undermount sink it was only $700. That was my biggest splurge on this entire space.
Analyze what you can save. Are there elements in the bathroom that can be updated, for example will a fresh coat of paint give it a refresh? Are there items you already own that can be repurposed.
DIY is your friend, it can save you thousands of dollars. In fact, labor costs are a major part of any renovation.
This is a great opportunity to learn new skills. With this in mind, take free classes that are offered at home improvement stores. Learning new skills not only will save you a ton a money, but it can be so rewarding. I love to look back and say: “Hey, I did that”.
Another great resource of course is YouTube. You can learn so much from these tutorials. As you are trying something new, remember to take your time, don’t try to hurry through something that is new to you.
(Stop by and check out our DIY YouTube channel! Be sure to subscribe and hit that notification bell so you’ll always know when we have another great DIY project to share.)
I realize a professional could probably have tiled the entire surround in one day. However this was new to us and it took an entire week for us to just apply the tile. We would work on it a few hours each night. When we got tired, we stopped. We didn’t want to make a silly mistake because we were tired or trying to rush the work.
As we started on this bathroom remodel, I thought a great way to save money would be to save the original 4 x 4 tile work.
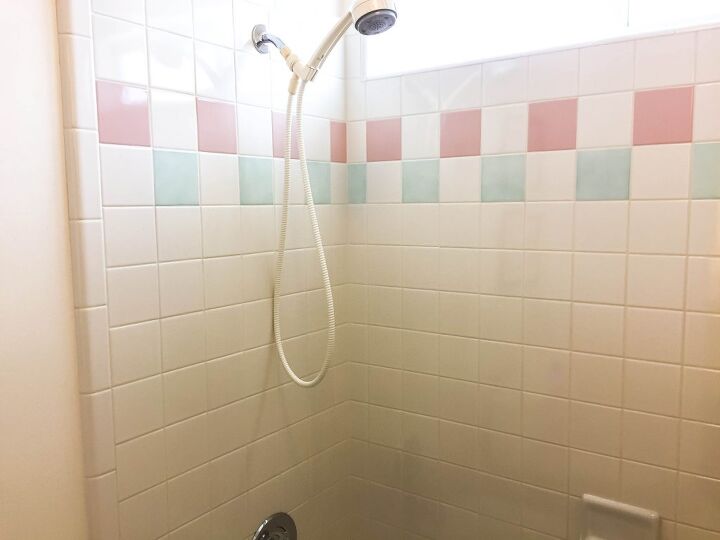
The white 4 x 4 tile was actually in great condition and my initial thought was keeping the white tile and just remove the 2 rows of accent. However, my experiment was a fail! To see the tile tutorial that went from fail to fabulous, click here.
It was a good learning experience for me. It cost me about $40 in tile and backer board as well as many hours of hard work. But I learned that it wasn’t such a great idea after all.
All in all we saved a ton of money by doing the tiling ourselves. Yes, it was a lot of work, but if you take your time you too can get professional results.
PRO TIP: Do not take on a DIY project that is dangerous! If you are not experienced in electrical work. Then by all means hire a professional.
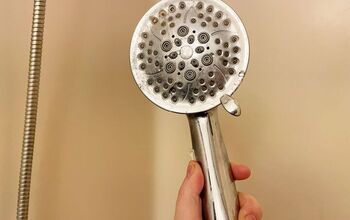
My husband Steve has done a bit of plumbing, so he was able to do that work in our bathroom remodel. I wanted the shower head to be higher and he was able to raise that himself as well as install our new fixtures.
As I began looking at options for our bathroom remodel. I initially looked at vanity options online that included the stone countertop.
However, our cabinets in our bathroom had been custom made and our space was not a standard size. So it was difficult to find something standard that would fit the space.
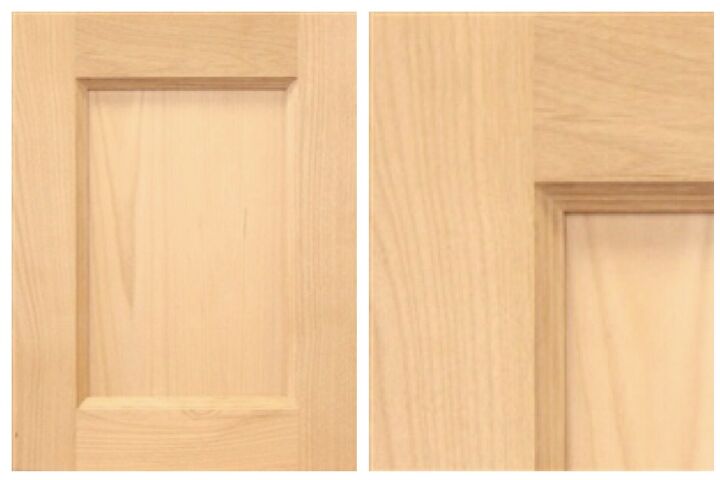
Now our cabinets were in excellent condition, I just wasn’t a fan of the shape of the cabinets doors.
With this in mind, I was able to find a company that would build custom doors and drawer fronts with a very similar profile to my kitchen cabinets.
It was important to me that the cabinetry in our home matched from room to room. Therefore, we were able to save a lot of money by using our existing cabinet base and purchasing custom doors and drawers at a fraction of the cost of a new custom cabinetry.
The new custom drawer fronts and doors were purchased at BarkerDoor.com. In order to get a professional looking finish I had a local painter spray the cabinet door and drawer fronts. Then I painted the cabinet base. I also purchased new soft closing hinges as well as the hardware through BarkerDoor.com for a total of $350. What a bargain!
Be sure to look through your bathroom before gutting it. Create a list of items you will be needing in the renovation. Then salvage and save what you can. Whatever you don’t need to purchase is money in your pocket.
Another great way to save money on a bathroom remodel it so buy items second hand. From re-purposing a dresser into a vanity or vintage accessories. There are many great ways to re-purpose and re-use to save money on a renovation.
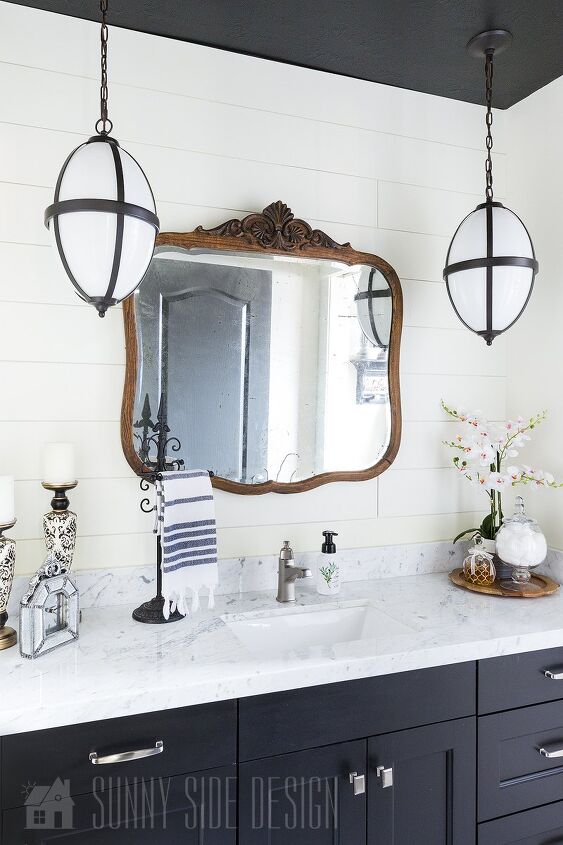
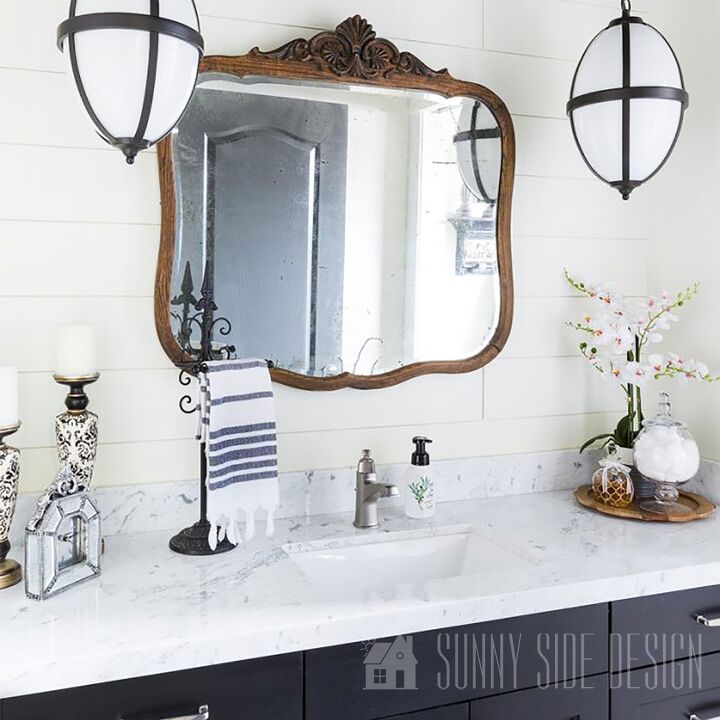
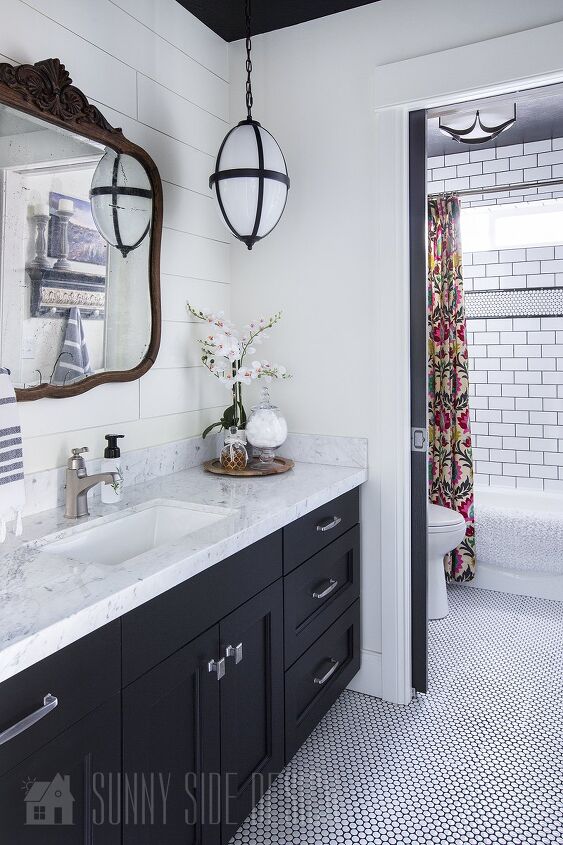
The vintage mirror in the bathroom was purchased at a local vintage market. I loved it when I first saw it, but I didn’t love the price of $150, so after some negotiating I was able to pick it up for $75.
The mirror adds a bit of rustic and vintage charm to the bathroom. The natural patina of the frame warms the space a bit.
I also chose to add a few more wood elements to tie it all together. I used a wooden charger from World Market as a tray to organize bathroom necessities.
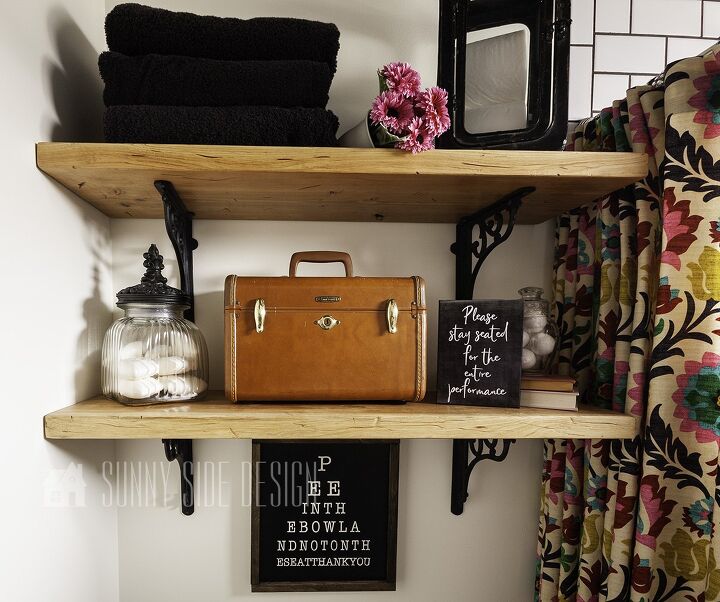
Adding rustic pallet wood shelves creates a little more character as well as storage in this bathroom. The pallet wood was FREE! It was not the small pallets I usually come across.
A friend noticed this large pallet at our local car wash and recruited her husband to bring it home to me. There was enough wood to create 4 shelves, 2 in the bathroom and 2 in my kitchen.
I kept the rustic flair by just waxing the wood. I then mounted them to iron brackets, which I found on Amazon.
Vintage luggage from my grandma, not only looks cute on the shelf, it is functional too. I use it to store extra toilet paper.

There are many ways to add decor to your bathroom on a budget. Old jars filled with soap, bath bombs, cotton balls and bubble bath are not only adding decor to the room, but also help to create order.
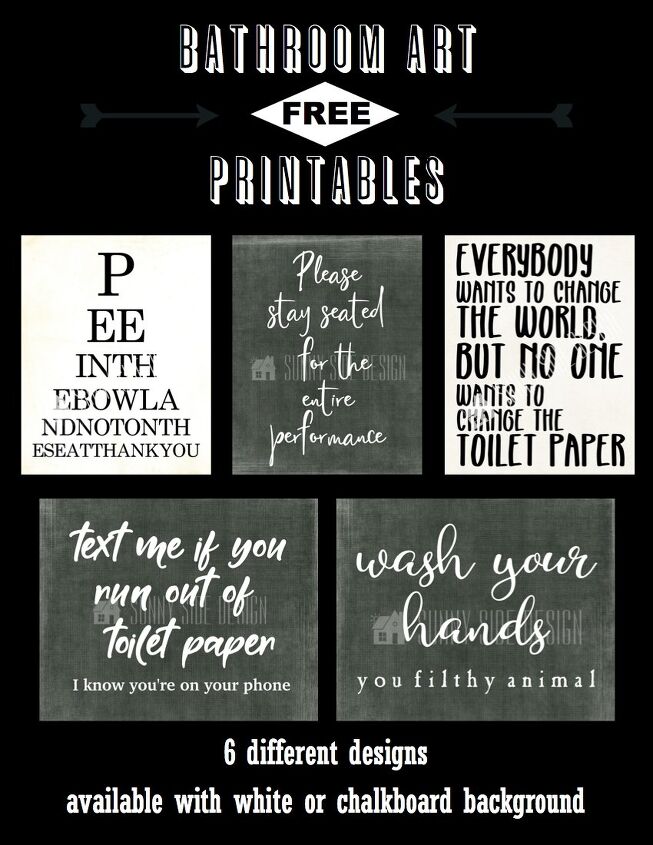
The sign below the shelves I made by creating a stencil with my Silhouette machine and then simply painted some scrap wood I had. The frame was created the same way we did with the Reversible Holiday Signs, easy and free.
We have also created some fun and humorous art for the bathroom. It is available for FREE here. We simply had them printed and mounted them to scrap lumber.
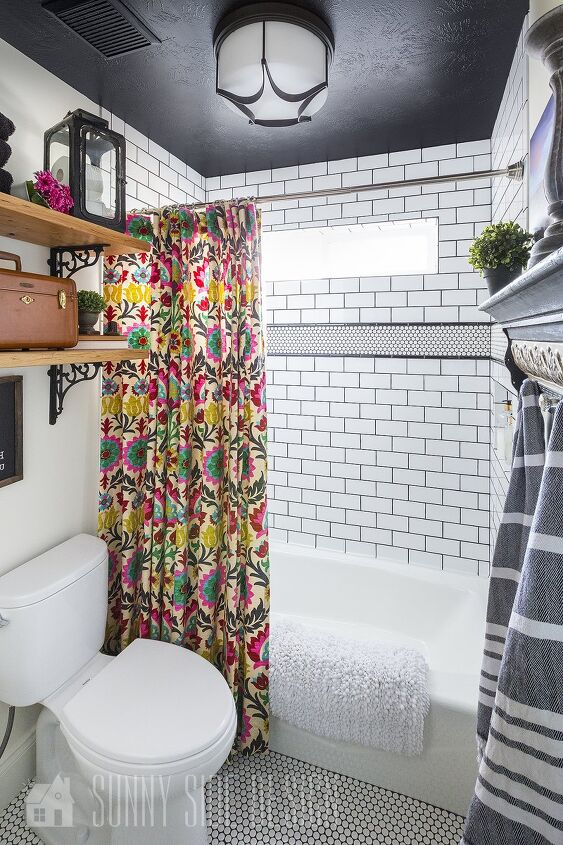
Let’s talk about the fabulous shower curtain, it’s decor right? Every time I browsed the home decor fabrics at Hobby Lobby this fabric would jump out at me. I loved the vibrant colors, but at the time had no idea where I could use it, but why not a shower curtain? It’s hung with rhinestone shower rings and a fabric liner and it’s fabulous! (Hobby Lobby no longer carries this fabric, but you can find it on fabric.com here.)
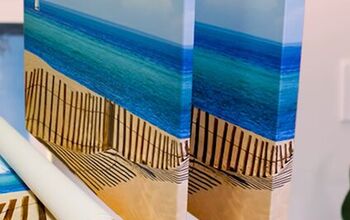
Another way to add a decor element is with photography. If you have some favorite shots, why not print them and enjoy them?
I love my son Alex’s photography and I knew it would look fabulous in my bathroom.
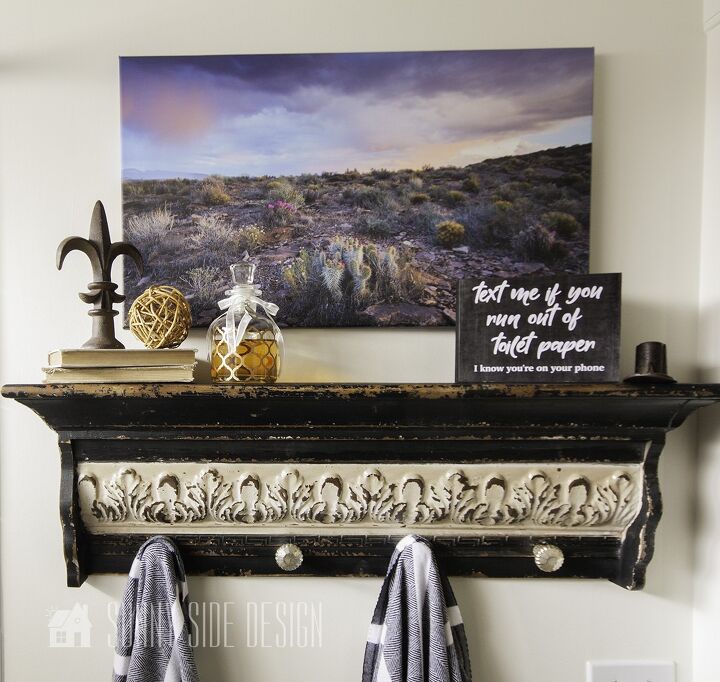
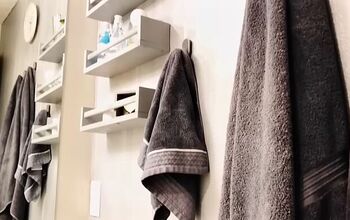
This shelf not only functions as decor, but it is functional too. To create a towel rack for the bathroom I simply purchased a shelf I loved at Hobby Lobby and added knobs. For the complete tutorial click here.
Old books and decor from around the house are another way of adding FREE decor to the bathroom.
Paint itself is not expensive. In fact it is the most cost effective way to update a room. Painting may not be fun for everyone, but it is a great way to save money.
However, when you consider how little there is to actually paint in a bathroom, it can be done fairly quickly.
PRO TIP: Paint the ceiling first, especially if the walls and ceiling are going to be different colors. You will often get paint splatters when painting the ceiling and you don’t want that on your freshly painted walls.
The ceiling in both sections of the bathroom are painted with Sherwin Williams Tricorn Black, but I had it mixed at Home Depot using Behr Paint. You know I love the thick creamy texture and the coverage I get with Behr paint. It’s the only paint I use.
When I voiced the idea of a black ceiling to my hubby Steve, he was not too thrilled about the idea. I assured him that if WE didn’t love it I would repaint it.
Isn’t it fabulous! I love the reaction I got from my 3 year-old grandson Mr. A, he said “Oh, grandma your ceiling is BLACK!” I told him, yep and I LOVE IT.
The exhaust fan cover was also painted (flat black spray paint) so it would blend into the ceiling.
Save money by leaving the toilet, bath tub and shower where they are. There is no need to move the plumbing if their current locations are satisfactory. Moving water supply and drains immediately drive up the cost of any remodel project.
Luckily for this bathroom the location of all of the fixtures were great. However, when we dive into the master bathroom it will be a different story. It just could be so much better! Stay tuned!
As I said earlier, Steve has had some plumbing experience and was able to adjust the height of the shower, as well as install the new fixtures.
With the use of plastic PEX plumbing pipes and push-in fittings, even if you are not confident as a do-it-yourselfer plumber, you can probably handle light plumbing tasks with relative ease.
How about installing the toilet yourself. If you have the strength to carry a toilet, avoid calling in a plumber to switch out the old toilet. Toilet installation involves very few waterline hookups. The hardest part of installing a toilet is physically moving the toilet into place. If you need help, enlist a friend.
Speaking of toilets, do your homework. I spent quite a lot of time researching and reading reviews of toilets before we purchased ours.
Not all water wise toilets are created equal. We have had water saving toilets in the past that we had to flush multiple times to dispose of the waste. Not very water saving at all that way!
After reading many reviews, I decided on the T oto Drake 1.6 GPF two piece elongated toilet. Not only did it have the elongated bowl that we wanted, but it was not expensive. We also found that it was less expensive online and included free delivery.
It has held up to the reviews as well. We rarely have trouble with it getting clogged, in fact, it’s the preferred toilet in the house.
There are many options for finishes and tile. Once again, do your homework, shop around!
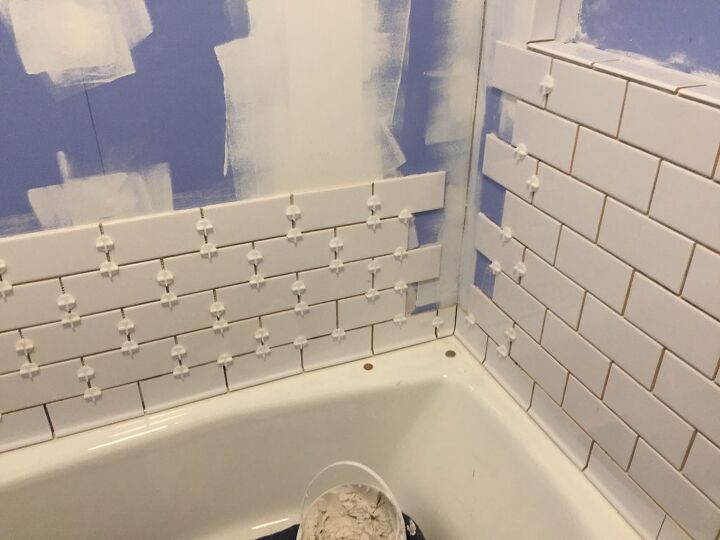
I have a brother-in-law who works in the flooring business. I began getting prices on different styles of tile through him. Thinking that would be the least expensive tile. Even with his discount, I found that the basic white subway tile and penny tile at Floor and Decor was much less expensive than what he could get it for.
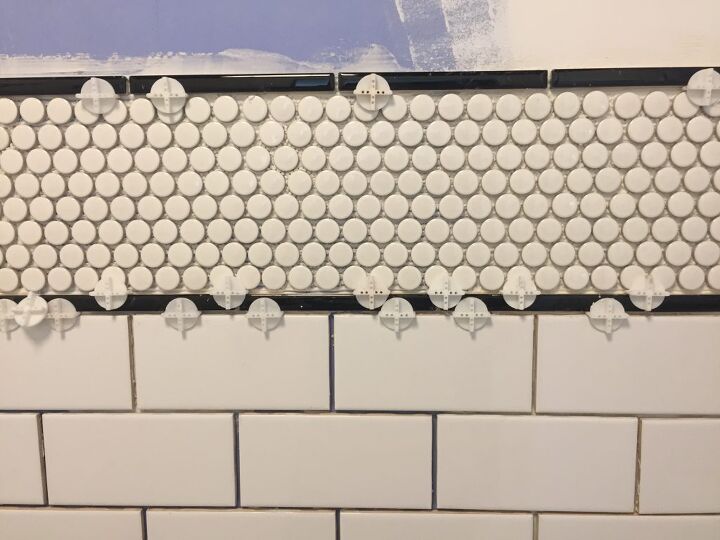
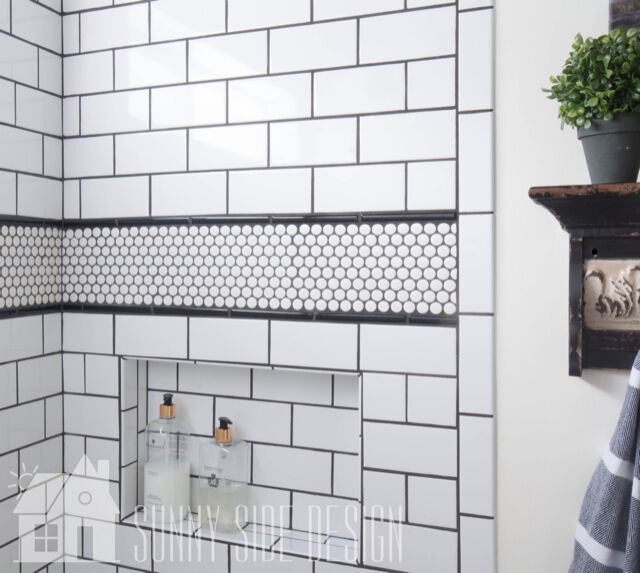
Even though subway tile is a pretty basic tile, when laid in a decorative way it can really make a big impact. We set the white subway tile in a basic brick pattern. Then at eye level we added a boarder of white penny tile with a black liner tile.
Once again shopping around, I found that the black liner tile was less expensive at Lowes. We then used a dark charcoal grout to really make our design pop!
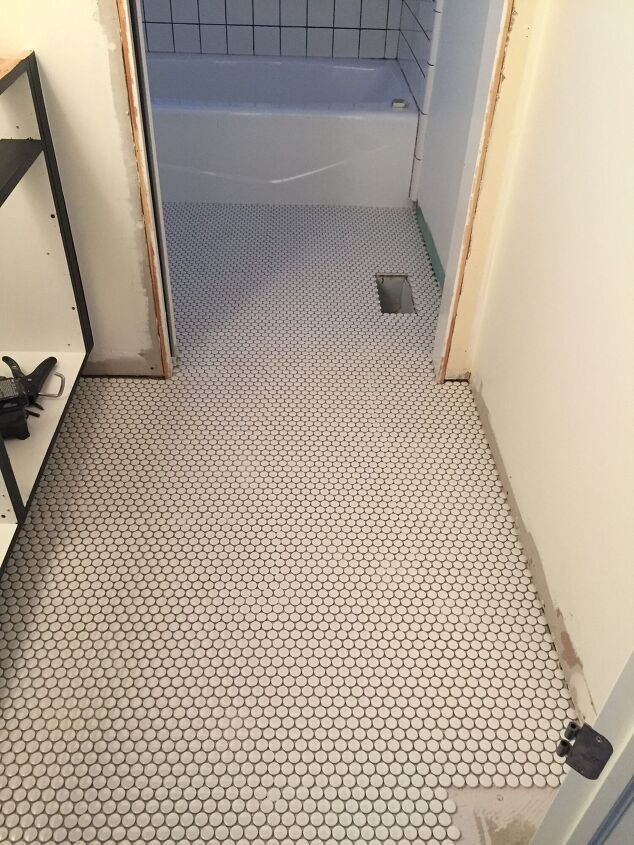
As an unexpected design element we also used the penny tile for the flooring with the dark grout as well.
One other design element that we added to the bathroom was to shiplap the wall above the vanity.
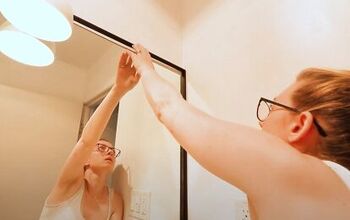
When we removed the large plate glass mirror, some areas of the wall were damaged. We filled in the areas with spackle and then decided to cover the wall with a faux shiplap.
For the faux shiplap we used utility plywood. It is only $14 for a 4 x 8 sheet. That is a real bargain for some architectural detail in the space. I had the plywood cut into 6″ strips at Home Depot and then cut them to length at home.
We installed it with a brad nailer leaving an 1/8″ gap using tile spacers.
PRO TIP: For ease in painting, paint the wall first as well as the edges of the plywood, then you’re not trying to cram paint into a narrow gap.
Now lets talk about these fabulous pendant lights. They are from Murray Feiss, Amato collection. As soon as I saw them I knew I had to have them. Yes, they were a splurge for me! I found them online, they are the icing on the cake! I’m sorry to say that they are no longer available.
The faucet at the sink is a Moen Hensley spot-resistant brushed nickel finish.
The tub/shower faucet is also Moen Hensley spot resistant brushed nickel finish. Can you tell I don’t like water spots? 🤣
A major remodel can be stressful! My suggestion is to ENJOY THE PROCESS. Enjoy working together and the fruits of your hard work.
I don’t think there is anything more satisfying than seeing a room transform. Take it slow, you are less likely to make mistakes, trust me on that one!
Curious how much this transformation cost?! Here is a break down of what we spent:
Cabinet doors and drawer fronts $350
Marble counter with undermount sink $700
Plumbing fixtures $125
Paint $50
Tile $300
Shower curtain $100
Toilet $175
Lighting $300
Mirror and accessories $100
For a grand total of $2200! Not bad for a complete bathroom remodel!
Are you looking to remodel a bathroom? Please share with us what you are doing? We would love to know how it is going. We hope that you have found this post helpful and inspirational. Please PIN IT and share. Sharing helps our blog grow.
Would you like some fun and humorous FREE bathroom printables? Then click here.
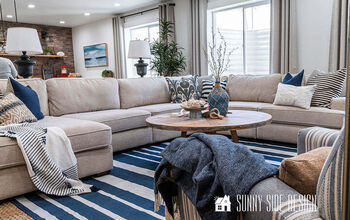
Looking for more inexpensive ideas for decorating your home. Then check out Steph’s Master Bedroom Makeover on a Budget.


![101 Items to Get Rid of With No Regret [Free Declutter List]](https://cdn-fastly.thesimplifydaily.com/media/2022/08/30/8349390/101-items-to-get-rid-of-with-no-regret-free-declutter-list.jpg?size=350x220)

Comments
Join the conversation
Beautiful 😍
I would love to try the tile grout, I have white tiles would love black croute, first I do not know how the remove the grout I was thinking could I use a permentant black marker to change the color , would it wash off when cleaning? I have a few seems loose, how can I replace them, what glue do you use to replace them on the wood under floor, they were not set on mud. Also to replace marble tile. If you know great , if not can you direct me to a place to find out , we do not have a Lowe’s near us. You made a great toutorial. Very inspiring. Thank you.