5th Wheel Renovation Episode 4: Installing the Kitchen

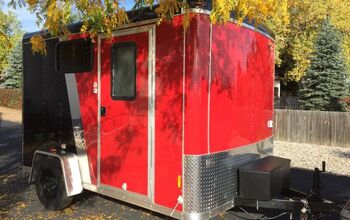
We're showing you how we are renovating a 5th-wheel trailer kitchen! We have a 42-foot mid-bunk 5th wheel Open Range Roamer 371MBH (made by Highland Ridge). We’ll show you how we did a 5th wheel renovation with a kitchen, plus, we’ll show you progress with shiplap walls in our daughter’s room.
For the kitchen, we went to Home Depot to choose our cabinets, countertops, and backsplash. Let’s show you our 5th wheel renovation ideas, the options we chose, and how it is all coming together.

1. Choosing countertops
We were leaning towards laminate countertops but we looked at solid surface and butcher block options, too. For laminate, we didn’t love the brightly colored speckles. We prefer basic so we are deciding between a basic matte white or a very subtle marble pattern, like the sample you see here.

2. Deciding on cabinets
We love the plain white cabinets. We want the counter and cabinets a very basic flat white. So, we chose the plain white countertop and left the marble one behind. And then what we will do is get an interesting design in the backsplash and a detail on the island.

3. Designing the backsplash
We decided to go with a brick pattern for the backsplash. It comes in a sheet and it’s easy to install. We won’t keep it red. We will install it and then paint it white.

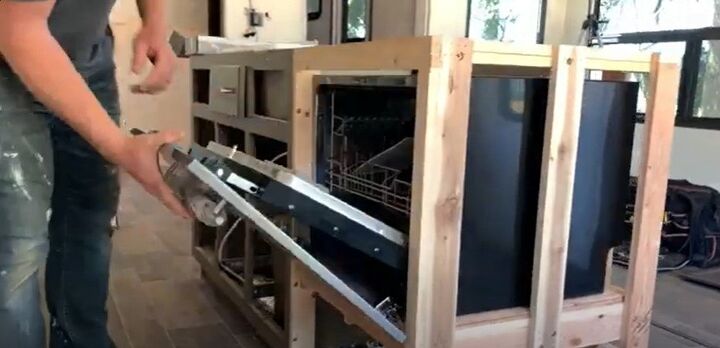
4. Choosing the dishwasher
We have to have a dishwasher. We chose a drawer-style stainless steel dishwasher. You flip the door down and open it up. There’s one shelf, but that’s all we need. We’ll put it on the island because that’s set up for plumbing.
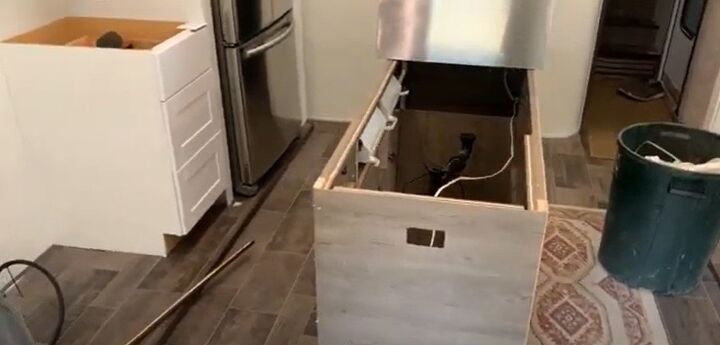
5. Tweaking the island
The island is a little too skinny for the dishwasher, however. So, we’ll modify the island. The island is narrow to begin with so extending it out a bit will be fine. We’ll extend the lip out an inch or two to get the space we need.
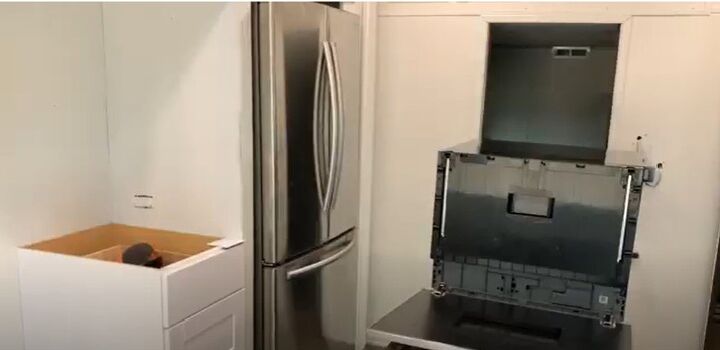
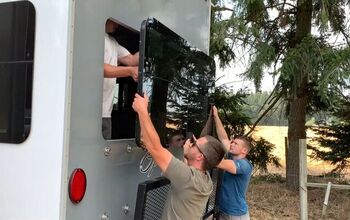
6. Placing the refrigerator
Our stainless steel fridge is in place and looks great. It’s the same fridge we had in our former RV, we just moved it in here. It’s a counter-depth model so it doesn’t stick out super far and there’s enough room for it to open up. You can see our cooktop and dishwasher are waiting to be installed.
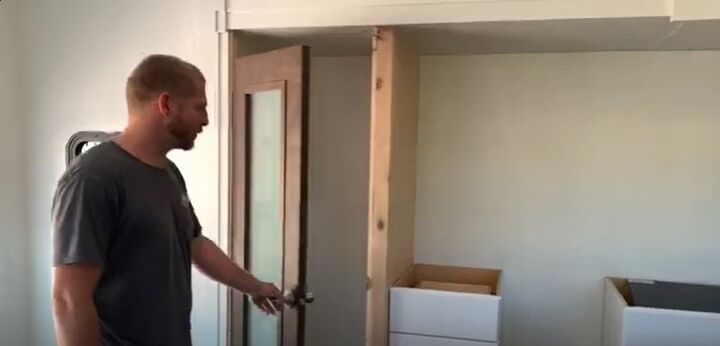
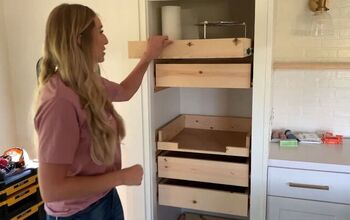
7. Finishing the pantry
We installed a door on our pantry. We will add shelves in the pantry to finish it off.
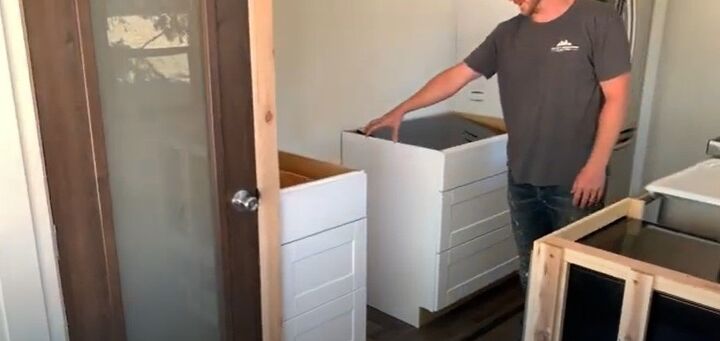
8. Installing the cabinet
Our lower cabinets are installed and the middle area will be a garbage can pull-out. The microwave will be installed above the cooktop. The area right next to the pantry will be open counter space.
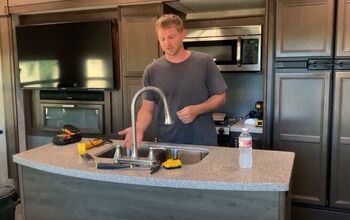
9. Progress on the island
The island is now modified and the sink and dishwasher will be permanently installed once we get the countertops. Since we are getting laminate counters, we chose a white overmount sink.
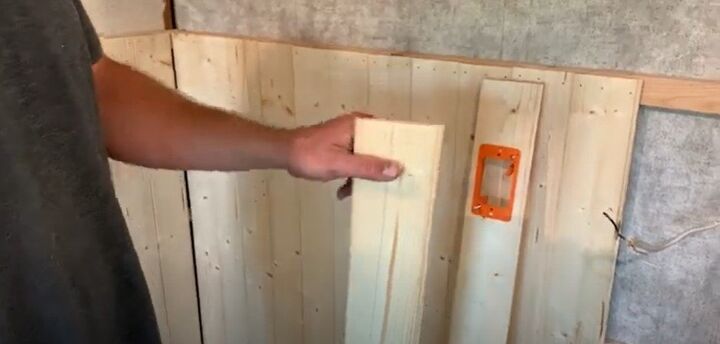
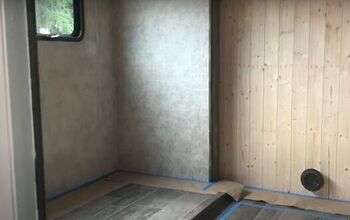
10. Designing Avery’s room
Our daughter Avery’s room is also in progress. The shiplap walls are getting prepped for painting. The shiplap we used is a thin ¼-inch tongue-and-groove board. To mount it to the wall, I added horizontal wood strips so I can nail the shiplap up.
5th wheel renovation
We’ll be finishing up painting while we wait for the countertops to arrive. We hope you like what we did with our renovated 5th wheel! We love our 5th-wheel kitchen layout and the progress we’re making but let us know what you think in the comments.


Comments
Join the conversation
I'm just starting to explore 5th wheels. Your renovation is inspiring!